SFDC Gallery App Setup Within A Contact, Lead And Opportunity
Please note:
- Please make sure you follow every step in the instructions closely when installing the App.
Adding the App to a Contact, Lead and Opportunity
User will want to repeat these steps for each of the following Salesforce Objects - Contact, Lead and Opportunity.
- When accessing your Salesforce Instance, select Setup and in the left-hand navigation, Search “Layouts.

- Within Contacts (Leads or Opportunity) sections, select Page Layouts.
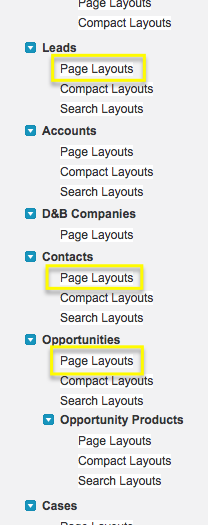
- On the Contact (Lead or Opportunity) Page Layout screen, select Edit for the page layout which you wish to add the Gallery App.

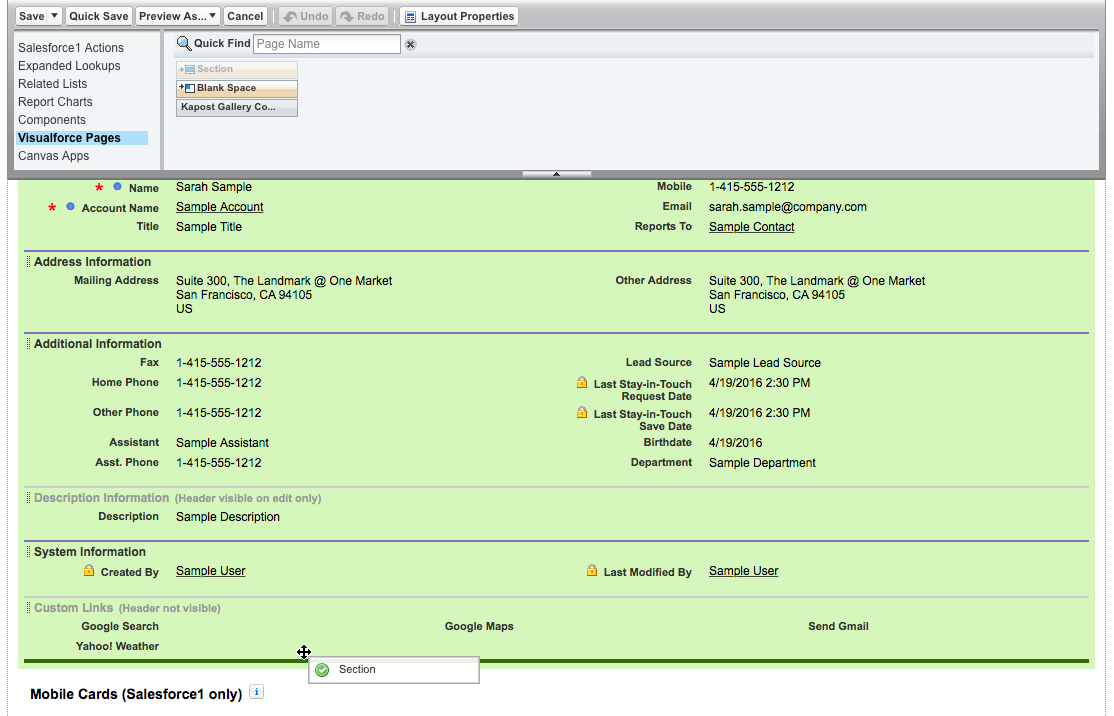
- In the Contact (Lead or Opportunity) Layout menu, select the Visualforce Pages option.

- Within the Visualforce Page option, click Section and drag the tile to the area desired for the app to appear.

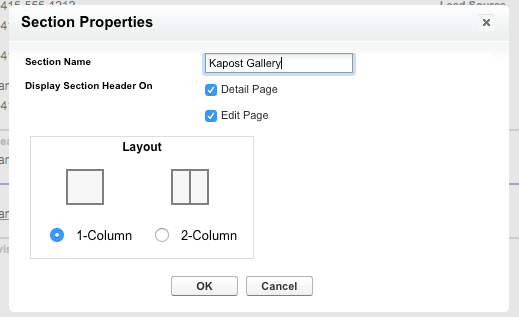
- Enter the name Kapost Gallery and select the 1-column layout. Then, push OK.
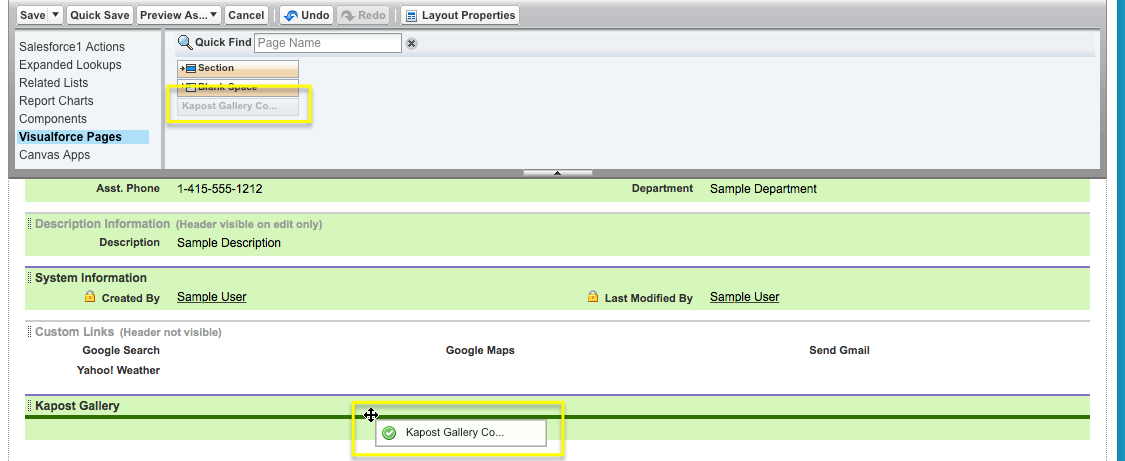
- Now, click Kapost Gallery Contact (Lead or Opportunity) and drag the tile into the newly added Kapost Gallery section. Make sure you drag it until the words "Kapost Gallery" are highlighted so it isn't dropped into the wrong section.
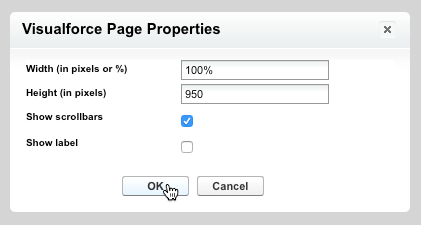
- To set the Visualforce Page Properties, click on the wrench icon in the new section. Establish a width of 100%, height of 950 pixels and enable scrollbars.

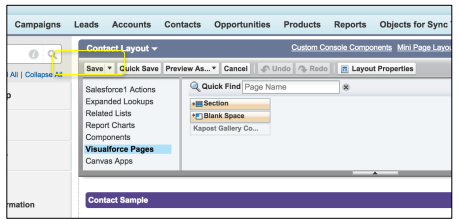
- Click Save to save the layout. Now the Kapost Gallery will display on Contact (Lead or Opportunity) pages.
It is not possible for someone to access the Kapost Gallery URL from the Kapost Gallery tab.
The Kapost Salesforce app interacts with the following modules from Salesforce:
- Write to activity on contacts
- Read Lead/Contact and Opportunity
Helpful document: Understand and Navigate The SFDC Gallery App As An End User (Without Content Recommendations Setup)
Next Steps:
- Add The Kapost Gallery As A Personal Tab in SFDC
- Setup Content Recommendations
- Understand and Navigate The SFDC Gallery App As An End User (With Content Recommendations Setup)